Learning how to paint a room comes down to three phases: prepare the surfaces, apply the paint in careful coats, and clean up properly. Preparation takes the longest and shows up most in the finish. Rushing it is the most common beginner mistake.
Gather the right tools
You do not need a lot, but quality matters. A decent brush gives cleaner edges, and a roller with the right nap suits your wall. Short nap rollers suit smooth walls, while longer ones help on textured surfaces.
- Angled brush for cutting in at edges
- Roller, extension pole and a tray with liners
- Painter’s tape, drop cloths and filler
- Sandpaper or a sanding sponge, a putty knife and a damp cloth
- Primer and paint suited to the room
For kitchens and bathrooms, look for paint labelled for those conditions. Moisture-resistant finishes cope better with steam and splashes.
Prepare the room
Move furniture to the centre or out of the room and cover everything left behind with drop cloths. Remove switch plates and socket covers. Do not touch wiring, and switch off power at the consumer unit if you work near fixtures; for any electrical repair, hire a licensed electrician.
Wash walls with mild detergent and warm water, especially in kitchens where grease lingers. Fill holes and cracks with filler, let it dry, then sand smooth and wipe off dust. Run tape along skirting boards, window frames and ceiling lines.
Safety before you start
Houses built before the late 1970s may contain lead paint. If you suspect old paint, do not sand or scrape it. Contact a qualified professional for testing and advice. Ventilate the room well, use low-VOC products where you can, and keep paints away from children and pets. Use a stable ladder or step stool, and never lean out sideways.
How to paint a room step by step
- Prime when needed. Use primer over stains, bare filler, dark colours or new plaster.
- Cut in. Brush a two- to three-inch band along the ceiling, corners and trim.
- Roll in sections. Load the roller, then roll a W shape and fill it in, working from top to bottom.
- Keep a wet edge. Overlap each section while the previous one is still wet to avoid visible lines.
- Apply a second coat after the manufacturer’s recommended drying time.
- Remove tape while the paint is slightly tacky, pulling slowly at an angle.
Paint the ceiling first, then the walls, then trim. Work with the windows open, if the weather allows.
Pick a finish that suits the space
| Finish | Best for | Notes |
|---|---|---|
| Matt | Living rooms, ceilings | Hides flaws, harder to wipe |
| Eggshell or satin | Hallways, family rooms | Good balance of look and washability |
| Semi-gloss | Trim, doors, bathrooms | Durable and easy to wipe, shows flaws |
Light colours make small or dim rooms feel larger, which is helpful if you are choosing low light houseplants for the same space. Test samples on the wall and look at them at different times of day before you buy a full tin.
Clean up and store leftovers
Wash water-based paint from brushes and rollers with warm soapy water. Never pour paint or solvents down drains or onto the ground; follow local guidance for disposal at a household waste facility. Seal leftover paint tightly, label it with the room and date, and store it somewhere cool and frost-free for touch-ups.
A freshly painted room looks best on a clean base, so tackle the dust first with your deep cleaning schedule. Painting is also a natural item for a seasonal home maintenance checklist. For more projects, see the Home & Garden category.
This is general DIY information. Electrical, gas and structural work, and suspected lead or asbestos, should be handled by licensed professionals.
Common mistakes to avoid
Beginners often skip the wipe-down, paint over dust and then wonder why the finish feels gritty. Others overload the brush, which causes drips, or stretch the roller too far before reloading, which leaves thin streaks. Work in good light so you can see missed patches, and step back often to look at the wall from an angle. Avoid painting in damp or very cold conditions, since paint dries unevenly. Leave the first coat to dry fully before judging colour, because wet paint often looks different. If you stop for a break, wrap the brush and roller in plastic so they do not harden. Patience is the cheapest tool you own, and it makes a bigger difference to the result than any expensive brush.
Key takeaways
- Prep, including cleaning, filling and sanding, decides the final result.
- Cut in first, roll in sections and keep a wet edge.
- Suspect old lead paint? Stop and call a professional.
- Choose the finish by how the room is used.
Frequently asked questions
How long should I wait between coats?
Follow the instructions on the tin, as drying times vary by product, temperature and humidity.
Do I always need primer?
Not always. It is most useful over bare surfaces, stains and big colour changes. Some paints combine primer and colour, but check the label.
How much paint will I need?
Coverage is printed on the tin. Measure wall area, subtract large openings, and buy enough for two coats plus a little spare.
Can I paint over wallpaper?
Sometimes, but it often leads to peeling. Removing it first, or consulting a decorator, usually gives a better result.
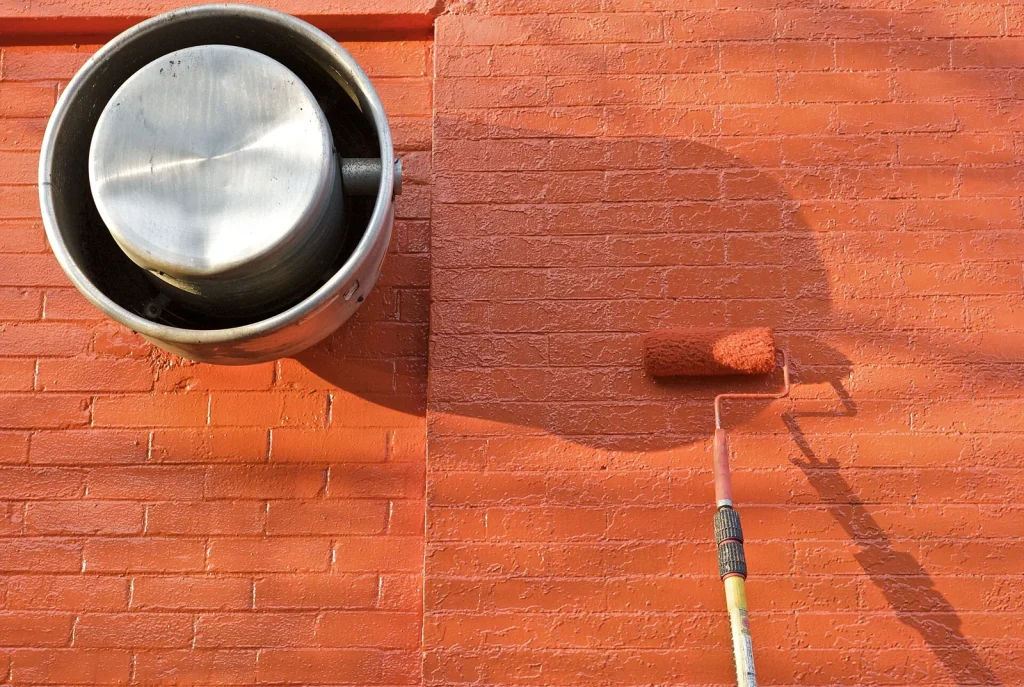
Photo: Paint roller 4 by Michael Cory, CC BY 2.0, via Wikimedia Commons